How to Set Up and Master Your TideLens Underwater Fishing Camera
You’ve just unboxed your brand-new TideLens. This walk-through shows you how to charge it, deploy the 30-metre camera, and maintain the unit so it keeps delivering crystal-clear live footage trip after trip.
1. Unboxing Checklist
- 4.3″ or 7″ IPS display with integrated 6-hour lithium battery
- Kevlar-reinforced 30 m camera cable
- Adjustable infrared LED camera head
- Universal rod-clamp mount (fits most boat & kayak rod-holders)
- USB-C charging cable & wall adapter
- Protective carry case & sunshade hood
(Optional hero image alt: “Complete TideLens kit laid out on deck”)
2. First Charge
- Connect the USB-C cable to a 5 V power source. A small LED next to the port glows red while charging and switches off when full (≈ 3 hours).
- Leave the screen powered off during the first charge to maximise battery health.
3. Mounting the Camera
| Platform | Mounting Method | Why It Works |
|---|---|---|
| Boat or kayak | Insert the rod-clamp into an existing rod-holder, then tighten until snug. | Keeps cable vertical, quick to swing clear during transport. |
| Land-based jetty | Clamp to a spare rod and rest it in a rod stand pointed straight down. | Simple workaround when no built-in holders are available. |
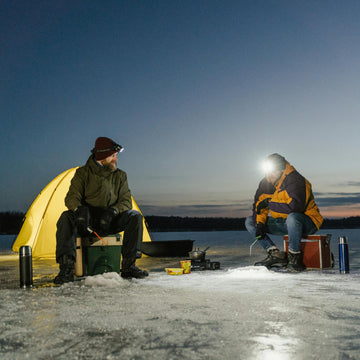
| Ice fishing | Position the rod-clamp over the drilled hole; use a short broom-handle if needed. | Stops the camera from spinning in currents beneath the ice. |
4. Dialling in Camera Angles
- 40–60 ° downward—best for scouting structure and schools.
- Horizontal (eye-level)—ideal when watching lure or bait reactions.
- Use the on-screen grid to keep horizons level and reduce viewer fatigue.
5. Optimising Infrared LEDs
Start at 30 % power in clear water. Bump up to 70–100 % in stained or low-light conditions. Excessive brightness can wash-out detail and spook finicky fish—adjust slowly while watching live reactions.
6. Streaming & Saving Your Footage
TideLens streams footage live to the onboard screen—no phone app or SD card required. If you want to archive video:
- Point an action camera or smartphone at the TideLens display and record the screen directly, or
- Connect a third-party capture device (via the video-in port on the 7″ model) to record sessions for later analysis.
7. Maintenance & Storage Tips
- After salt-water use, rinse the camera head and cable with fresh water.
- Dry the cable before winding to prevent mildew and kinks.
- Store the unit in its carry case below 40 °C and out of direct sunlight.
- Top-up charge every three months during off-season to maintain battery health.
Pro Tip: Build a Seasonal Playbook
Take time-stamped notes of fish behaviour you observe—strike depths, lure colours, light levels. Over a season you’ll assemble a pattern library that turns random luck into data-driven angling.
Ready to put your new skills to work? Order TideLens here or check out our other how-to articles for more ways to fish smarter.


